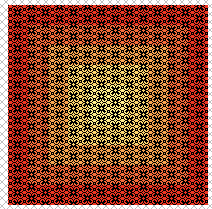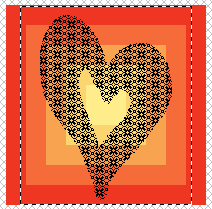
Starting with the same image as the dithering tutorial. Why? because, yet again, I'm a lazy bum. This tutorial will give some hints on how to do patterns easily and quickly.

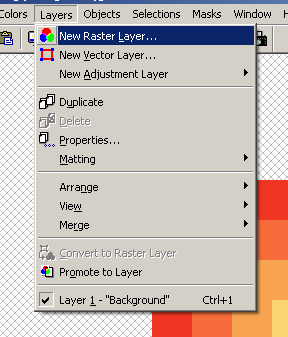
Begin by making a new raster layer.

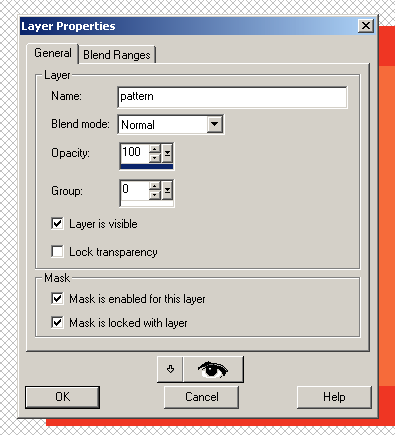
Name this layer "pattern." Or whatever you want, I guess, so long as you'll remember what's in it.

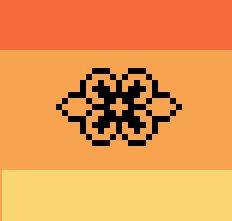
I like to make my own patterns; this is the start of a pattern, drawing it a pixel at a time, playing around.

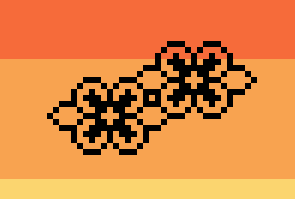
Copy and paste to make something that can repeat.

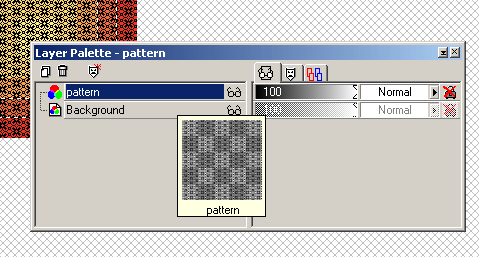
Keep copying and pasting until the entire screen is covered in the pattern.

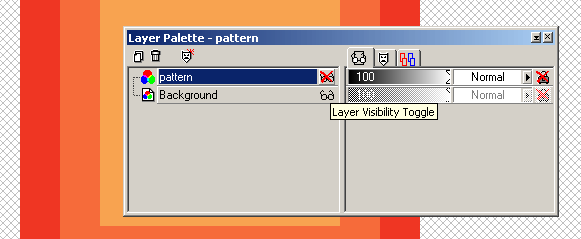
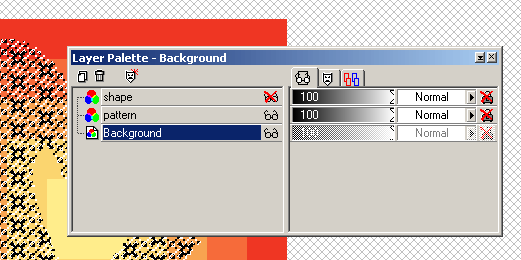
Now we're going to hide the pattern by turning the visibility off, so we can do some fun things. Then click on the "Background" layer to switch layers.

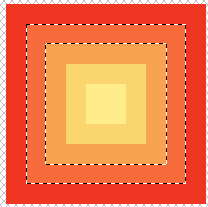
With the wand selection tool, select only one shade of your image; I chose the orange.

Return to the pattern layer; hit ctrl + C to copy what's inside your selection.

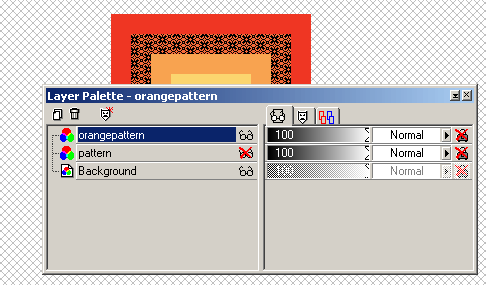
Make another new layer, called orangepattern, and paste the pattern where you want it to go. Voila! we now have a pattern only in that one color. Easy as pie.

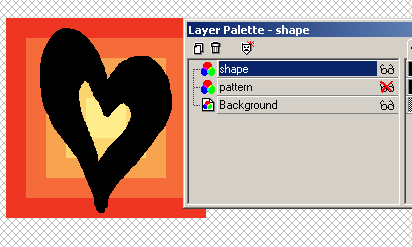
Now for something different. Make a new layer, called "shape," and draw a black, solid shape in it.

Select the shape, again with the wand selection tool,

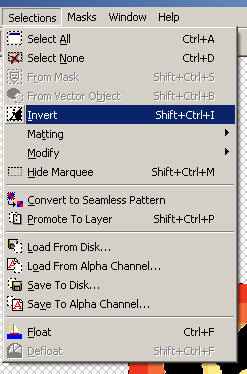
Then invert the selection, so you're selecting everything *but* that area.

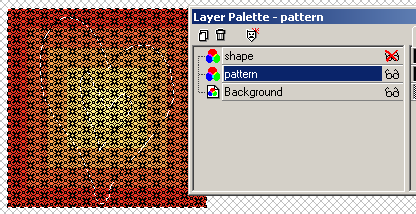
Switch back to the pattern layer. Hide the shape layer.

Hit the "delete" button and voila! Delete everything outside that selection. Yes, we could have done the same thing with the orange, this is a different way of doing it.

Draw a selection around your pattern-shape.

Clicking again inside this selection will select ONLY what's drawn there; this means all the blank, empty space will NOT get selected, only your drawn lines. In this case, only the pattern lines. This can be useful when you want to select an article of clothing that your doll is wearing, everything in a layer, to put a pattern on top of.

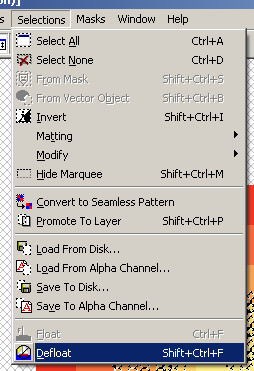
Your selection will be floating; you'll want to "defloat" it.

Now, switch to the background layer, and hit ctrl + c again to copy what's in the background layer.

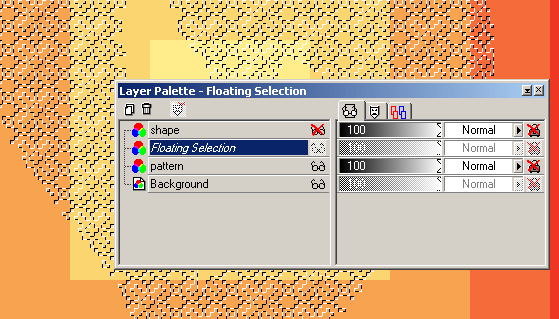
Switch back to the pattern layer, and paste your selection into it; you'll want to carefully layer the selection OVER the pattern lines drawn on the pattern layer. Your selection will then be floating.

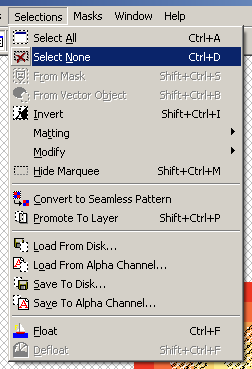
Select none.

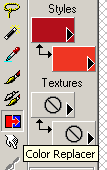
switch to the color change tool; I chose to make the pattern darker than the background it's against, so I chose a color one shade darker than the darkest color.

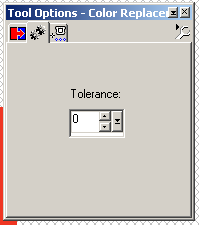
Make sure your tolerance is set to 0, and then double click the left mouse button [the main one] to change every instance of that color on the screen.

Replace each following color with the color darker than it. The color you're changing TO should always be in the foreground of the color options [the top] and the one you're changing FROM should be in the background [the bottom].

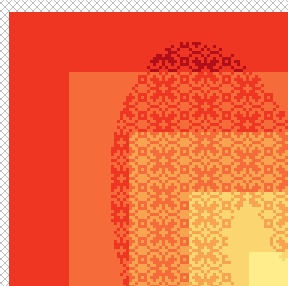
Voila! Our heart is color changed. This technique works WONDERFULLY on clothing that has already been pixel shaded. (:
